
A 6000-pixel-wide concert photograph does not need to stay that size when it appears 800 pixels wide in a review. Resize it before upload and you may save far more data than you would by pushing compression harder. Keep the full-resolution original somewhere safe; the smaller file is a publication copy.
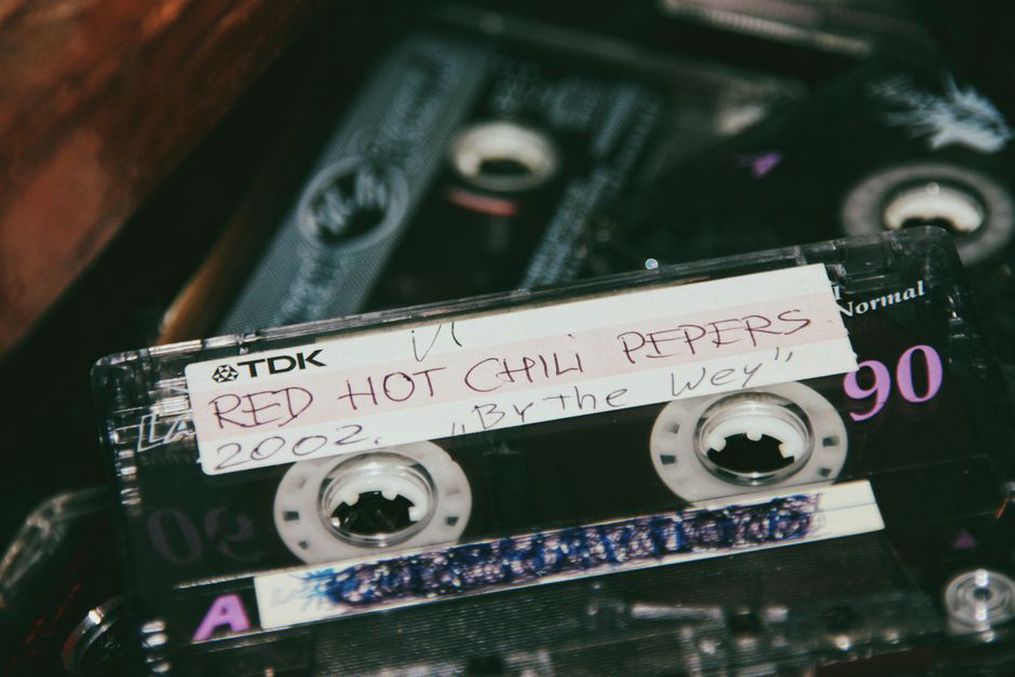
On an independent music site, that copy might sit beside a cassette-sleeve scan or a photograph of a handwritten track list. Each has different weak points. Mild compression may go unnoticed in a dark stage shot, while a few damaged letters can make an insert hard to read. Judge the file by what survives at the size a reader will use, not by how low you can get its byte count.
Start with display dimensions
Check the width of the article column and the largest size the image will reach. For a photograph displayed at 800 CSS pixels wide, an export around 1600 pixels wide is a sensible starting point for many high-density screens. That is not a rule for every image: a sleeve scan that readers can zoom into may need more pixels, and a thumbnail needs fewer. Crop to the intended composition before export so you are not sending parts of the photograph the page never shows.
Do not enlarge a small original just to hit a target width. Upscaling adds pixels, not legible sleeve text or recovered focus. If your publishing system makes several image sizes, check which one the article actually serves. A responsive page may send a smaller file to a phone, but not if every screen is forced to download the original.
Choose a format that suits the image
File formats discard different kinds of information. Lossy encoding approximates image data to save space; lossless encoding preserves the decoded pixels. Saving an already compressed image in a lossless format will not bring back detail that is gone.
- JPEG is still a practical, widely supported choice for photographs. Repeated lossy saves can leave artifacts, especially around lettering and hard edges.
- WebP offers lossy and lossless options and often makes smaller web files than older formats. Check the result rather than assuming it will be the smallest for every image.
- AVIF can compress photographs efficiently, though encoding may be slower and results depend on the source and settings. Test important images in the browsers and publishing workflow you support.
- PNG suits graphics that need lossless edges or transparency, including some diagrams and flat-color scans. It is usually a poor default for a full-color concert photograph.
A logo or simple graphic may be better as a vector file if your site supports it safely. For a cassette insert with fine type laid over photographic artwork, try more than one format. A small file is no bargain if the credits cannot be read.
Compress for what the reader must see
A “quality” setting in one application does not necessarily mean the same thing in another. Make a few exports at the intended dimensions instead of borrowing a number from a tutorial. Compare them at 100% zoom and at their actual size on the page. Check faces, lettering, thin lines, gradients, and high-contrast edges for blocks, noise around outlines, or smeared texture. A scan may look fine at first glance even after its smallest type has broken apart.
Dark performance photographs need a closer look. Heavy compression can flatten shadow detail or leave visible bands in stage lighting. Do not lighten the shadows simply to hide those faults; try a less aggressive export first. Equally, there is little reason to keep pixel-level detail nobody can see at the published size.
Keep the source separate from the delivery file
Save the camera original or highest-quality scan before editing. Return to that source for crops, resizing, and color corrections, then make fresh publication copies. If every revision starts with an already compressed JPEG, another lossy save may further damage fine detail. Name the final export clearly so it does not get confused with the archival file.
Remove weight that does not carry useful detail
An image may contain camera settings, embedded previews, and location coordinates. Stripping unnecessary metadata can make a modest difference to file size and help prevent accidental disclosure of location information. Check first, though: creator or rights information may need to stay with an image in a collection. Metadata cleanup helps, but dimensions and encoding usually matter more.
Check color, too. For ordinary web photographs, exporting in sRGB generally gives more predictable results across common browsers and devices. Simply removing an embedded color profile without converting the image properly can shift its colors. Compare the export in a browser, not just in your editing application.
Check the page, not just the file
- Export at the dimensions needed for the image’s largest intended display.
- Make two or three compressed versions at those same pixel dimensions so you can compare them fairly.
- View each at its actual display size on a desktop and a phone. Inspect the details that matter.
- Pick the smallest version that passes that check, then confirm which file the published page loads.
File size only means something in relation to the image’s purpose. A small performance thumbnail can lose more detail than a scan meant to let readers study an instrument setup or transcribe sleeve credits. If the page opens an enlarged view, check that view as well; a sharp thumbnail can hide a poor full-size export.
For a first test, take a 6000-pixel-wide stage photograph destined for an 800-pixel-wide column. Keep the original, export a 1600-pixel-wide copy, and compare a few JPEG or WebP settings in the browser. If the microphone cables remain distinct and the dark backdrop has no distracting bands, use the smallest acceptable copy. Test the sleeve scan separately, at the size someone would use to read its smallest credit line.