
A hand-built synthesizer is rarely a neutral instrument. Its oscillator may drift as the room warms, its knobs may lack conventional scales, and its patch points may invite connections a factory design would rule out. In Japan’s experimental music networks, such instruments have mattered less as cheap substitutes for commercial gear than as sound systems whose limits, faults, and physical interfaces shape composition from the first signal.
The history is broader than any single scene or tidy national style. Japanese artists working across noise, drone, ambient, electroacoustic practice, performance, and sound art have used modified electronics alongside tape machines, contact microphones, radios, effects units, computers, acoustic objects, and field recordings. DIY synthesis is one method among many: a way to make voltage, feedback, instability, repetition, or minute shifts audible.
What makes a synthesizer “DIY” in this context?
DIY can describe a device assembled from components, but it can also mean an altered commercial instrument, a circuit rehoused in a new enclosure, a self-designed controller, or a performance system built from ordinary modules. What matters is control over the instrument’s behaviour. The player decides which parameters are available, which faults remain useful, and which restrictions become compositional rules.
A basic analogue synthesizer generates and shapes electrical signals. An oscillator produces periodic or unstable voltage; a filter cuts or emphasises frequencies; an amplifier controls level; envelopes and low-frequency oscillators introduce movement over time. In a DIY device, these functions may be separated, combined, overdriven on purpose, or left out entirely. A circuit intended as a simple oscillator can become a percussion source, a radio-like drone, or an erratic control-voltage generator, depending on its patching and amplification.
For experimental work, standard ideas of “good sound” are often beside the point. A circuit that clips, squeals, loses pitch tracking, or reacts differently each day may yield material a stable keyboard synthesizer cannot. That does not make it inherently more expressive. It asks the performer to learn the instrument’s conditions: power-supply noise, gain staging, cable routing, control sensitivity, and the point at which an interaction becomes unusable.
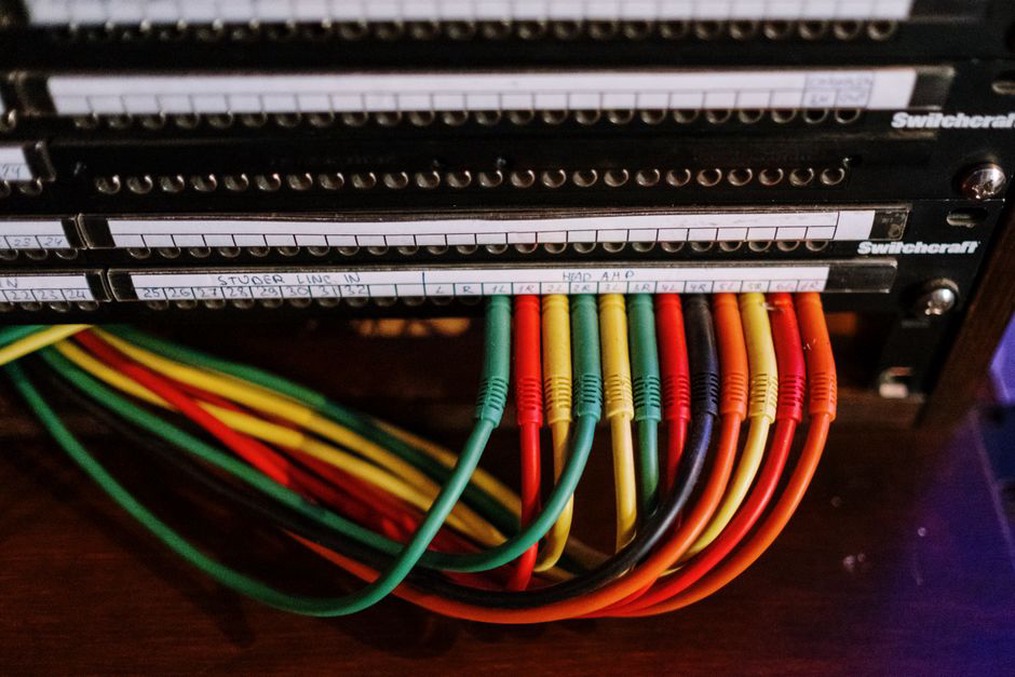
From instrument ownership to instrument design
Commercial synthesizers present a finished architecture to the user. DIY work brings part of the design process into rehearsal and performance. Choosing a resistor value, adding an attenuator, changing a capacitor, or placing a feedback loop after a delay line alters timbre and changes the decisions available in real time.
A conventional keyboard encourages notes, intervals, and familiar pitch relationships. A small box with two touch contacts may instead invite pressure, interruption, accidental skin resistance, and sudden shifts in density. A feedback circuit turns listening into a physical negotiation with speaker placement and mixer gain. The music may be noisy, quiet, sustained, rhythmic, or almost static, but its form is often tied to the instrument’s particular resistance.
Constraints can be more useful than options
Large modular systems offer enormous flexibility, yet a small restricted instrument can produce more focused work. A one-oscillator device with one control-voltage input forces attention onto a narrow set of materials. A battery-powered circuit that runs for a limited time may make gradual voltage loss part of the structure. A homemade sequencer with an irregular clock can produce repetition that is neither fully metrical nor random.
In drone or ambient practice, this can create slow internal movement without leaning on decorative presets. Small changes in voltage, filter resonance, or feedback become audible over long durations. In harsher work, limitation can keep density from collapsing into generic saturation: one unstable source, carefully amplified and spatialised, may reveal more detail than several layers of distortion.
Japanese contexts: networks, workshops, and small-scale circulation
DIY electronic practice in Japan has developed through overlapping routes rather than a unified movement. Academic and institutional histories of electronic music made techniques of synthesis, tape manipulation, and spatial sound available. Independent musicians, instrument tinkerers, small venues, art spaces, and self-released media created other routes for devices and recordings that did not require institutional approval.
The small-scale infrastructure of the experimental underground matters here. A hand-built device may be demonstrated at a performance, passed between collaborators, documented in a photocopied insert, or heard on a limited cassette release. Its circulation is often bound up with social contact: someone sees an object in use, asks how it works, exchanges schematics or parts, and adapts the idea for another musical need. This does not mean every DIY network is informal or open to all; electronic knowledge remains unevenly distributed. It does, however, allow methods to travel without manufacturer validation.
Cassette culture has been especially compatible with this work because it accommodates duration, rough edges, home duplication, and small editions. A cassette does not need to preserve every high-frequency detail of a complex electronic texture to matter; compression, hiss, and mechanical variation can become part of the document. That material relationship between sound source and reproduction medium is central to the broader underground practice described in our examination of why cassettes still matter in Japan’s experimental underground.
Sound sources beyond the oscillator
The phrase “DIY synthesizer” can hide how often the most compelling systems are hybrid. Rather than treating a synth as a self-contained musical object, experimental setups often use it as one voltage-producing or signal-processing element within a larger chain.
- Contact microphones translate vibration from metal, glass, springs, motors, and resonant objects into electrical signal that can be filtered, delayed, or fed back through a synth system.
- Field recordings can enter through an external input, then be broken up by gates, ring modulation, filters, or voltage-controlled amplification.
- Shortwave and AM/FM radios introduce broadcasts, interference, fading reception, and electromagnetic activity that resist complete authorial control.
- Tape loops provide memory and delay: an electronic tone may return seconds later, softened or degraded by the tape path.
- Small motors and relays add mechanical rhythm, vibration, or clicks that can drive other circuits through sensors.
These combinations challenge the idea that electronic music is detached from place. A field recording processed through a homemade filter is no longer a transparent record of a location, yet it does not become abstract material without history. Recording conditions, gain, editing, and processing remain audible choices. Their ethics matter as much in electronic processing as they do in unaltered location recording.
Feedback is an instrument, not a shortcut
Feedback offers one of the clearest examples of DIY synthesis shaping experimental sound. When part of a system’s output returns to its input, selected frequencies may be amplified, pulses may emerge, or the system may settle into unstable tones. The result depends on the circuit, mixer, speakers, room, cables, and gain settings. No two feedback setups are exactly alike.
Its apparent simplicity is deceptive. Uncontrolled feedback can damage hearing, speakers, headphones, and input stages. Begin at low volume, use a limiter or other protection where appropriate, and test through speakers rather than headphones. Keep one hand near the master level. Build one connection at a time, identifying whether the feedback route runs through a mixer send, effects return, module output, or microphone before introducing further paths.
| Working element | What it can reveal | Useful control |
|---|---|---|
| Feedback loop | Resonant peaks, pulse-like instability, room interaction | Attenuator or mixer send level |
| Slow control voltage | Gradual drift and non-repeating change | Depth and rate controls |
| External recording input | Friction between environmental sound and circuitry | Input gain and filter cutoff |
| Voltage-controlled amplifier | Silence, interruption, and dynamic contour | Bias and envelope amount |
Feedback’s musical interest often lies below the dramatic scream. Near threshold, a system can breathe, pulse unevenly, or hold an overtone that shifts when a performer moves a cable or turns a knob by a millimetre. This kind of close listening connects with approaches explored in The Weight of Silence: Japanese Ambient Noise and the Art of Listening, where low-level events and silence are treated as active parts of a sound field.
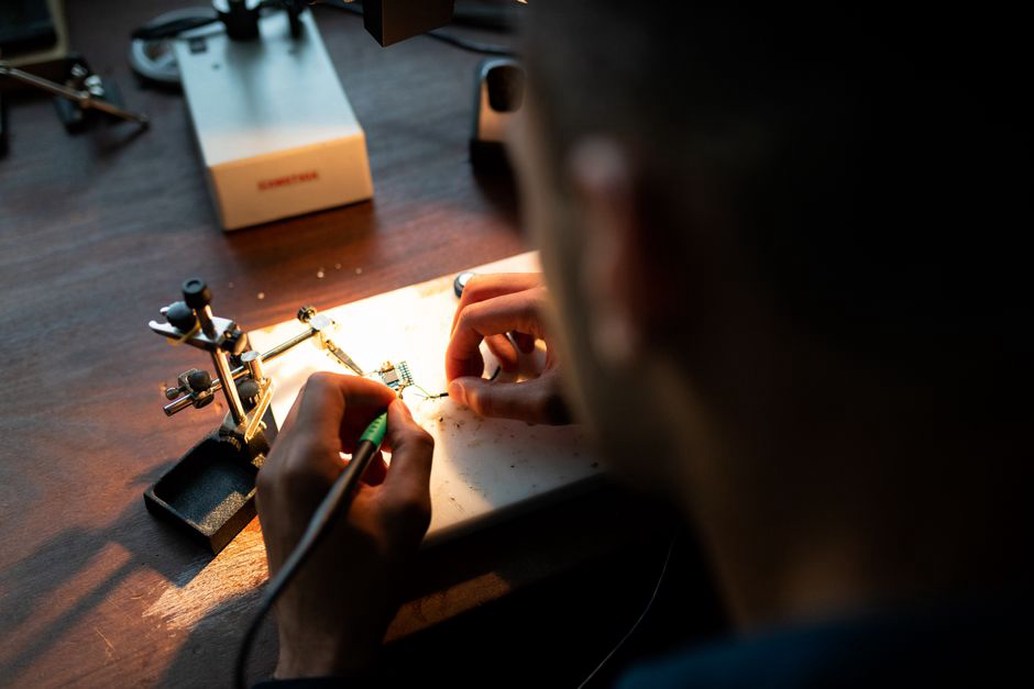
Building safely without flattening experimentation
DIY electronics carries real risks, especially electrical and acoustic ones. Beginners should favour battery-powered or properly enclosed low-voltage projects, use known circuit designs, and avoid opening mains-powered equipment unless qualified to do so safely. Capacitors in some equipment can retain a dangerous charge after power is disconnected. Treat metal enclosures with particular care, and never regard exposed wiring as an aesthetic feature.
A practical first setup
- Start with one stable sound source, such as a simple oscillator or small semi-modular instrument.
- Add one controllable process: a filter, delay, voltage-controlled amplifier, or basic mixer.
- Use an attenuator between modules or devices whenever signal level is uncertain.
- Record short tests and label the patch, knob positions, power source, and recording path.
- Listen back at low volume before expanding the system. Identify what changed rather than assuming the result can be repeated.
Documentation is not bureaucratic cleanup. Unusual instruments can be difficult to reconstruct months later, especially when their behaviour depends on loose cable contact, aging components, battery state, or a particular room. A simple notebook can record the circuit version, date, power method, patch diagram, microphone position, and gain levels. Photographs help, but they rarely reveal every setting. Keep audio tests of failures as well as successes; unsuccessful results often clarify what a circuit actually does.
For a cassette or digital release, include technical details only where they aid future listening: instrument names, signal sources, recording dates when known, and whether a performance was edited or assembled from separate takes. Do not invent mythology around an obscure device. A plain note such as “homemade oscillator, contact microphone, mixer feedback, recorded live” is often more useful than an elaborate description that cannot be verified.
A productive first experiment needs little more than an oscillator, an external recording, a mixer, and a way to reduce level. Feed the recording and oscillator into separate mixer channels, raise both faders slowly, and record three minutes while changing only the oscillator’s pitch control. Repeat the exercise while moving only the filter, then only the channel balance. Label each take immediately. Comparing the recordings will show whether the instrument’s interest lies in its raw tone, its interactions, or the discipline of changing one parameter at a time.