
Tape a contact microphone to a metal tray and you may get a strong signal with almost none of the room in it. The built-in microphones on a recorder will hear the tray, the person handling it, the ventilation and the traffic outside. Neither recording is definitive. The question is what should survive playback, and which limitations the musician is willing to leave audible.
There is no single recording method across Japan’s experimental underground. Noise, drone and electroacoustic improvisation bring different demands, as do the rooms and budgets behind small-run releases. DIY recording is less a recognizable finish than a series of decisions made without a large studio: how to route a signal, adapt the equipment at hand, document a performance and prepare a master for duplication. Each decision can shape the piece.
Begin with the signal path, not the gear list
A minimal path might run from a sound source through a mixer to a handheld recorder. Another might involve microphones, contact pickups, effects and a tape deck serving as both processor and recorder. Sketching the path first helps separate three sounds that are easy to confuse: what happens in the room, what reaches the recorder and what comes back through the playback system.
Feedback, for example, may depend on speaker placement. A direct mixer feed captures the electronic signal but may miss the exchange between speaker and room. A microphone near the speaker captures that exchange, along with reflections and audience noise. Recording both gives you options later, as long as you identify the feeds and check their timing before combining them.
A pre-session checklist should be short enough to use under pressure:
- Trace every connection. Confirm what each recorder channel receives; the mixer’s headphone output may differ from its main output.
- Leave headroom. Test the loudest likely passage, not just the opening sound. Lowering a file afterward will not repair digital clipping.
- Listen at the recorder. A healthy mixer meter tells you nothing certain about the recorder input.
- Record a short test and play it back. Listen for hum, intermittent cables and missing channels; check for unwanted automatic level control.
- Write down the setup. A phone note identifying inputs and unusual routing may prove more useful than a photograph of a crowded table.
These checks matter in small rooms and on shared bills, where setup time is scarce and a routing change between performers can upset the gain structure. The aim is not perfect isolation. It is a recording whose compromises were chosen, rather than discovered too late.
Choosing what a microphone hears
Air microphones and room sound
A microphone in the air hears more than the instrument. Distance changes the balance between direct sound and reflections; direction affects how much surrounding activity gets in. Close placement can clarify a quiet object performance, though it may exaggerate handling noise. A pair farther back can retain the spatial relationship among performers while losing softer details.
With loud electronics, start at a conservative input gain and monitor on headphones that offer some isolation. Volume in the venue is a poor measure of what reaches the recorder. If it has a limiter, test it rather than treating it as license to push the level: heavy limiting can flatten the changes that make a sudden noise event legible.
Recording from the audience carries a social obligation, too. Ask the performer and organizer whether recording is allowed, particularly if you may distribute the result. A usable file is not permission to publish someone else’s set. For context on spaces and etiquette, the guide to experimental music venues and promoters in Tokyo and Kyoto covers the live setting rather than recording technique.

Contact microphones and hidden surfaces
Contact microphones pick up vibration through a surface, rather than mainly through the air. They suit amplified objects, resonant panels and faint mechanical activity. How you attach one matters: a loose pickup can rattle, firm tape can damp the surface, and a shift of a few centimeters can change the frequency balance markedly.
Many piezo contact microphones sound thin through an unsuitable input. A high-impedance preamp or suitable buffer can retain more low-frequency content, but the right approach depends on the pickup and recorder. Try several positions, label the takes and compare them at a moderate listening level before settling on a setup.
Secure cables so a tug cannot pull an object over. Keep pickups clear of moving machinery and electrical equipment. On a borrowed instrument, gallery fixture or handmade device, agree on how to attach the pickup before reaching for adhesive.
Noise requires gain staging, not maximum input level
Noise can sustain high energy, jump into abrupt peaks and pile up dense layers. Those qualities can hide faults during a set: clipping may pass for part of the material, while a failing cable can sound like deliberate crackle. A test with one source playing at a time makes the difference easier to hear.
Work backward from the recorder. Leave room at its input for unexpected peaks, then set a sensible output from the mixer or effects chain. If a pedal supplies the distortion you want, capture it without accidentally overloading the next stage. Clipping that stage as well may wipe out the changes happening in the pedal.
Check that stereo earns its place. Two channels can convey moving feedback or separation between performers, but a shifting audience recorder can make the image wander. A stable mono position may yield a better document than accidental stereo. Keep the raw files if you record separate direct and room feeds: combining them can cause phase cancellation, especially at low frequencies.
Earplugs protect the recordist, not the microphone capsule or recorder input. Watch the meters as well as listening, and check the saved file before dismantling the rig.
Quiet recordings demand a different kind of care
In drone, ambient and electroacoustic work, a low-level sound may be the event itself. More recorder gain can reveal it, but also preamp hiss, ventilation and cable noise. Moving the microphone closer, repositioning the source or turning off a nearby appliance may help more than later processing.
A quiet room will not necessarily produce a quiet track. Chair movements, breath and distant traffic can give a recording scale—or break an intended sustained texture. Listen to a test on the system where you expect to edit, not only on session headphones. Headphones may magnify tiny noises that vanish on speakers; speakers may expose low-frequency rumble you missed.
Long takes bring ordinary risks: batteries, storage space, time limits and file-handling mistakes. Check the available recording time at your chosen format, and find out whether the recorder splits long takes into consecutive files. Unless the interruption is part of the piece, avoid changing batteries or moving the recorder mid-passage. Give a slowly evolving source time before and after it; a tightly trimmed file leaves little room for a natural beginning or end.
Tape as a recording medium, not a magic filter
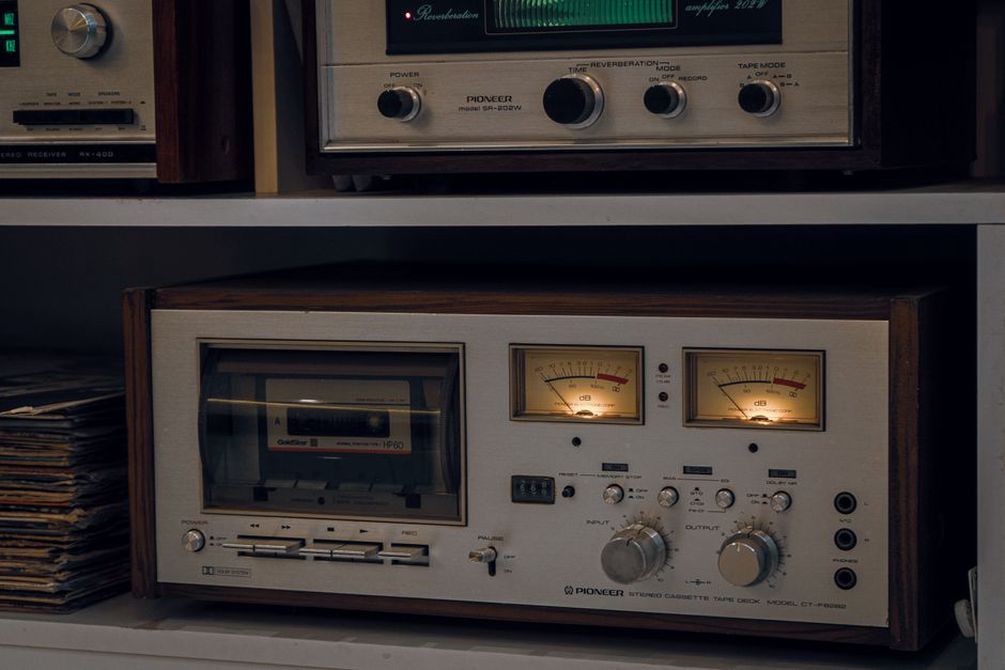
A cassette can capture a performance, process an existing recording or carry the final release. These are different jobs. Recording directly to cassette commits the take to the transport, tape formulation, noise and available tracks. Sending a digital file to tape and recording it back adds another generation of change. Duplicating a cassette release asks a different question: does the mix hold together on an ordinary player?
Mechanical condition matters more than any promise of warmth. Dirty heads, unstable speed and damaged tape can produce changes that are hard to repeat or control. Maintain the machine according to its requirements, test it with nonessential material and keep a digital copy of an irreplaceable take. If saturation is part of the piece, compare louder and quieter tape recordings at matched playback volume; otherwise, extra loudness may sway the judgment.
For a small-run cassette, play a duplicated copy rather than trusting only the digital master. Check both sides from the start, verify the running order and allow enough physical tape for the program. Extreme sub-bass or sharp treble may behave unpredictably across decks. The point is not to polish away every rough edge, but to tell a compositional choice from a duplication fault.
Editing without erasing the performance
DIY editing often benefits from restraint. Cut a false start, establish an ending, correct an obvious channel imbalance—and stop if that is enough. Heavy noise reduction can leave watery artifacts in quiet material; aggressive compression can hold feedback and room noise at the same level. Save an untouched copy before processing.
With separately recorded sources, align them using distinctive transients, then listen for comb filtering when they play together. A visual match on screen is only the first pass. Nudge one source, compare the low end and ask whether the combination improves on either recording alone. In improvisation, an edit that hides the exchange between players may remove the structure of the piece.
Give files names based on what you know: date, performer or project as credited, take number, recorder channel and location if its publication has been agreed. Do not fill gaps from memory months later. Confirm a collaborator’s preferred name, title and spelling before making artwork or duplicates. A creation-time filename is little help once a session has produced dozens of takes.
Build a repeatable test, then leave room for accidents
An inexpensive setup becomes easier to use when you know how it behaves. Record the same short source through two input paths, keep the recorder settings unchanged and compare the files at equal playback level. Then change one thing—a microphone position, cable, preamp or tape stage—and repeat. That way, a difference belongs to a particular change rather than to the whole improvised chain.
Accidents can still become material. A cable touch, overloaded circuit or unstable loop may be worth keeping once someone has heard it and made that choice. The problem is a fault nobody notices until the only copy is finished. After the next session, keep the raw take and add one line to its notes: which input carried the sound, and which part could not be recorded the same way again.