
A contact microphone taped to a metal tray can turn a finger tap into a low, unstable thud. Clipped to a bowl, it brings out ringing modes that ordinary hearing barely separates. For a noise instrument, the most useful starting point is often not a circuit diagram but a material with a distinct physical response: something that flexes, rattles, resonates, scrapes, or interrupts an electrical connection.
Japan’s experimental music history includes many forms of self-built sound practice, but “DIY instrument” is not a single aesthetic or a national trait. It may describe modified consumer electronics, handmade acoustic objects, unstable feedback chains, prepared instruments, small boxes assembled from standard components, or a temporary arrangement built for one performance. What these approaches share is practical control over production: deciding what makes sound, how it fails, and how its behaviour is documented.
Instrument building as a method, not a gadget category
Noise instruments are often mistaken for devices built simply to be loud. Volume may be part of the result, but the more lasting question is what variation an object allows. Can it shift from friction to impact? Does pressure alter pitch or density? Does it have a narrow sweet spot that requires close attention? A good DIY instrument does not need a broad range. It needs a response the player can learn.
This view connects instrument making to the broader history of Japanese noise, where amplification, bodily gesture, damaged media, and deliberate excess have often mattered more than conventional instrumental technique. For historical context without reducing the field to spectacle, see Japanese Noise Music: A Sonic Revolution.
The practical difference between an object and an instrument is repeatability. A loose coil of wire on a table may produce an interesting sound once. It becomes an instrument when the player can return to a process: placing it near a transformer, changing its distance from a pickup, routing it through a mixer, recording the result, and recognising what changed.
Three productive families of DIY noise instruments
1. Acoustic objects under close amplification
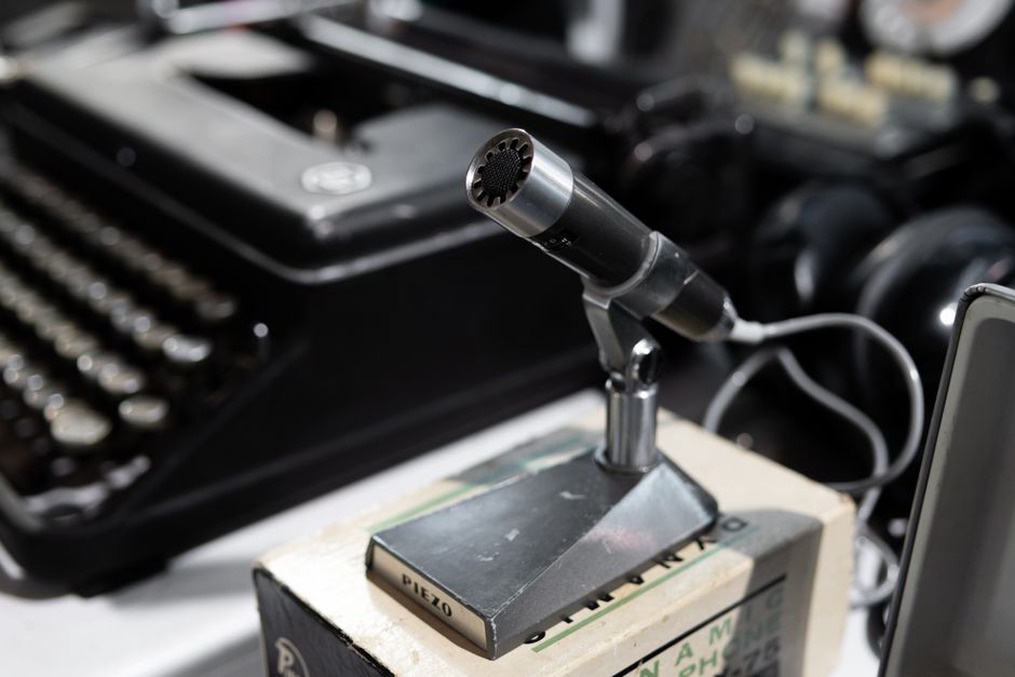
The simplest route is often the most revealing. Metal sheets, springs, ceramic vessels, small motors, wood, glass jars, brushes, and found hardware can become rich sound sources when amplified with a contact microphone or a conventional microphone. Their behaviour comes from material properties rather than electronic complexity.
Contact microphones are especially useful because they emphasise vibration travelling through a surface. A thin piezo disc can pick up tiny impacts and resonances while excluding much of the surrounding room. Quiet gestures become audible: dragging a coin across glass, compressing a spring, tapping a screw, or rubbing a bowed piece of metal.
- Metal often produces sharp transients, sustained ringing, and unpredictable sympathetic vibration.
- Wood usually gives shorter, duller impacts, with a noticeable difference between hollow and solid construction.
- Ceramic and glass can yield clear resonant peaks, though they need cautious handling and modest levels.
- Springs offer audible vibration as well as pronounced mechanical movement, which can work well in performance.
- Paper, foil, and thin plastic produce brittle friction and faint crackle that benefit from close recording.
The instrument is more than the object itself. Adhesive choice, microphone placement, cable movement, amplifier gain, and the performer’s grip all affect the result. Marking successful mic positions with removable tape helps make a fragile setup repeatable without pretending it is fixed.
2. Feedback systems with limited controls
Feedback is an electrical or acoustic loop in which an output returns to an input and is amplified again. It is not random, though it can become unstable quickly. A microphone facing a speaker is the familiar example; a mixer, effects pedal, contact mic, small amplifier, and headphones can produce quieter, more controllable versions.
Limitation is the important design principle. A feedback system with every parameter exposed can become difficult to hear and even harder to reproduce. Begin with one loop and one controllable interruption: a volume fader, a switch, a resistor, a hand near a microphone, or a physical barrier between speaker and pickup. Cause and effect are easier to recognise that way.
Approach acoustic feedback carefully. Start with the speaker level fully down, wear hearing protection when working at higher levels, and raise gain in very small increments. Avoid headphones in a live feedback loop unless the output has been tested at low volume; sudden peaks can be painful and damaging.
3. Modified electronics and circuit interventions
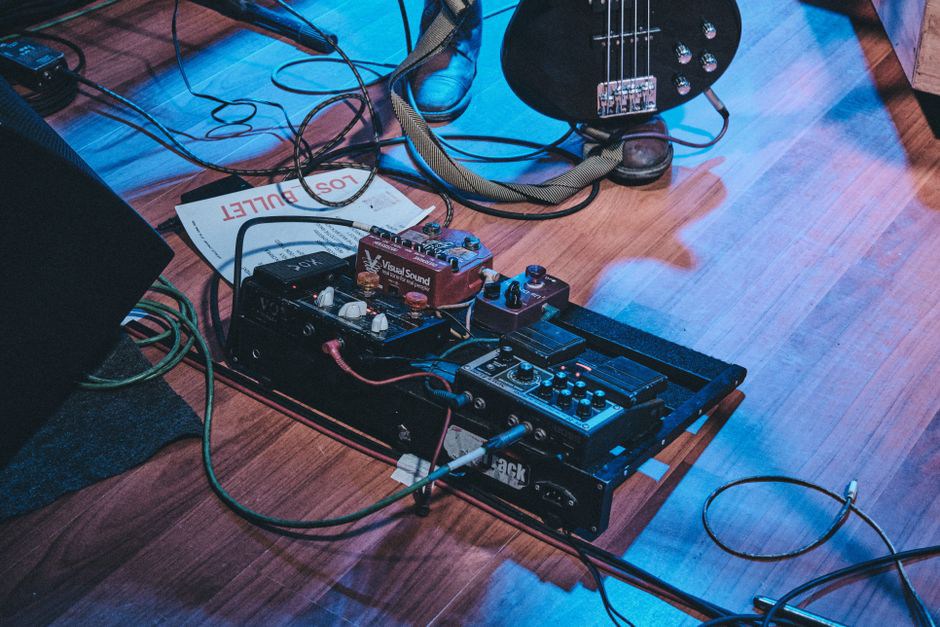
Cheap radios, toy keyboards, battery-powered devices, calculators with audio outputs, small amplifiers, and discarded consumer electronics remain appealing because their intended functions can conceal useful signals. Modification ranges from external intervention to invasive work. External methods—placing a radio near electromagnetic sources, manipulating a tuning control, or feeding an output through pedals—are usually safer and easier to reverse.
Circuit bending, by contrast, involves finding unexpected connections inside a powered device. It can produce unusual pitches, stuttering rhythms, and unstable tones, but it carries real risks. Work only with low-voltage, battery-powered equipment. Never open mains-powered devices, CRT televisions, power supplies, or equipment with large capacitors. Photograph wiring before making changes, use insulated probes, and disconnect power before soldering.
A more disciplined option is building a small oscillator on a breadboard. This avoids destructive modification and makes the role of each component easier to understand. A basic oscillator, a light-dependent resistor, and a potentiometer can create a playable relationship between light, resistance, and pitch. The instrument may be modest, but the builder can identify where its instability comes from.
Designing for attention rather than novelty
A first prototype often delivers one satisfying surprise and little else. The next step is to identify a playable constraint. Instead of adding effects immediately, set a narrow task: make a sound evolve for three minutes without changing the master volume; create five distinct attacks with one object; or record a piece in which cable movement is the only gesture.
Useful design questions include:
- What is the primary sound source: vibration, electrical oscillation, radio interference, friction, feedback, or recorded material?
- Which action changes the sound most clearly?
- What actions produce unwanted but recurring behaviour?
- Can the performer reach the controls without disrupting the signal path?
- What needs to be documented so the piece can be reconstructed later?
Noise practice often gains force through attention to thresholds: the point where a motor starts, a signal breaks apart, a surface begins to resonate, or feedback almost takes hold. Building around those thresholds is more meaningful than adding complexity for its own sake.
A practical build: amplified spring board
An amplified spring board is inexpensive, adaptable, and useful for learning how material, amplification, and feedback interact. It requires no custom circuit.
Materials
- A small wooden board or sturdy scrap of plywood
- One or more metal springs of different lengths
- Screws and washers
- A piezo contact microphone with a suitable 6.35 mm or XLR connection
- Removable mounting putty, tape, or reusable adhesive
- A mixer, preamp, audio interface, or amplifier with an appropriate high-impedance input
- Objects for excitation: chopsticks, brushes, a bow, metal rods, fingers, or soft mallets
Assembly and testing
Attach the springs firmly enough that they will not detach under tension, while leaving enough free length to vibrate. Put the piezo on the board first, then try it directly on a spring or near a mounting point. Each position emphasises different frequencies. Route the microphone through a preamp or interface before effects; piezo elements can sound thin or harsh when connected to an unsuitable input.
Test one action at a time: pluck, stroke, compress, scrape, and strike. Record short takes and label them by microphone placement and gesture. Then introduce a single effect, such as delay or distortion, at a low setting. If you want feedback, bring a small speaker gradually closer to the board and look for positions where the spring begins to react without breaking into an uncontrollable squeal.
| Observed behavior | Likely adjustment |
|---|---|
| Very weak or brittle signal | Move the piezo closer to a resonant point or use a high-impedance preamp |
| Continuous hum | Check cables, power supplies, grounding, and proximity to electrical devices |
| Harsh clipping | Lower input gain before reducing all other levels |
| Springs sound too similar | Use contrasting lengths, diameters, tension, and mounting positions |
| Unrepeatable results | Mark placements and record the signal chain with notes or photographs |
Documentation is part of the instrument
DIY work can disappear quickly when its construction is left undocumented. This is especially true of temporary setups, altered devices, and performances that depend on accidental connections. A notebook does not have to turn improvisation into laboratory work. It only needs to preserve enough evidence to distinguish a useful accident from a lost one.
Record the date, materials, wiring or routing, power source, microphone positions, gain settings, room conditions, and failures. A phone photograph of a patch layout can be more valuable than a later attempt to remember it. Save short test recordings with clear file names, including the instrument version number rather than only a poetic title.
For musicians working with unstable objects, documentation also clarifies authorship and process. The recorded result may involve performer, device, room, electricity, and chance, but that does not reduce the value of describing the choices that made the event possible.
Safety, repair, and responsible sourcing
DIY noise work should not mistake risk for authenticity. Hearing damage, electrical shock, fire hazards, and toxic materials are not artistic necessities. Wear ear protection during sustained loud work, keep output levels low while patching, use battery power where possible, and stop using damaged cables, swollen batteries, or overheating devices. Solder in a ventilated space and wash your hands after handling old electronic parts, especially when their provenance is unknown.
Salvaged materials are useful, but their condition matters. Check for sharp edges, cracked housings, loose screws, and corrosion. If an object comes from public space or a venue, ask permission. DIY ethics also concern how materials are acquired, who can access a workspace, and whether a performance exposes listeners or collaborators to preventable harm.
Before taking an instrument into public, run it through a quiet rehearsal and write a one-line setup order on masking tape: source → preamp → effects → mixer → speaker. That small label can save time in an unfamiliar room when a piezo lead loosens, a pedal loses power, or a spring board starts feeding back in an unexpected way.