
Press a contact microphone against a railing and a passing train may register as a low metallic tremor, not a recognizable vehicle. An air microphone nearby would give a different account of the same moment. Field recording is never just a matter of collecting local atmosphere: microphone choice, placement and editing decide what gets heard and what stays outside the piece.
In Japan’s avant-garde and experimental music, environmental recordings have become material for electroacoustic composition, improvisation, installation, noise and quiet sound work. There is no single method behind these practices. A recording may document a site with little intervention, bring a barely audible texture forward, or sit beneath electronics until its source is hard to identify. Rather than asking whether a piece sounds distinctly Japanese, it is more useful to ask what its recording method allows us to hear.
Choosing what the microphone can hear
Microphones give different accounts of the same location. A handheld stereo recorder captures relationships among sources: footsteps passing by, distant traffic, reflections from nearby walls. A directional microphone can bring a relatively quiet source forward, though it cannot cleanly erase what is behind it. An omnidirectional microphone takes in sound from all directions and can retain a broad sense of ambience. Binaural recording, with microphones positioned to approximate the ears, can give headphone listeners a strong sense of movement through space; played over speakers, the effect changes.
A contact microphone takes another route. Fixed to a fence, pipe or sheet of metal, it picks up vibration through the object. Thuds and resonances can seem detached from the visible surroundings because airborne voices and traffic recede. A hydrophone makes a comparable shift underwater. Neither device uncovers the definitive sound of a place. Each picks up vibrations through a particular path.
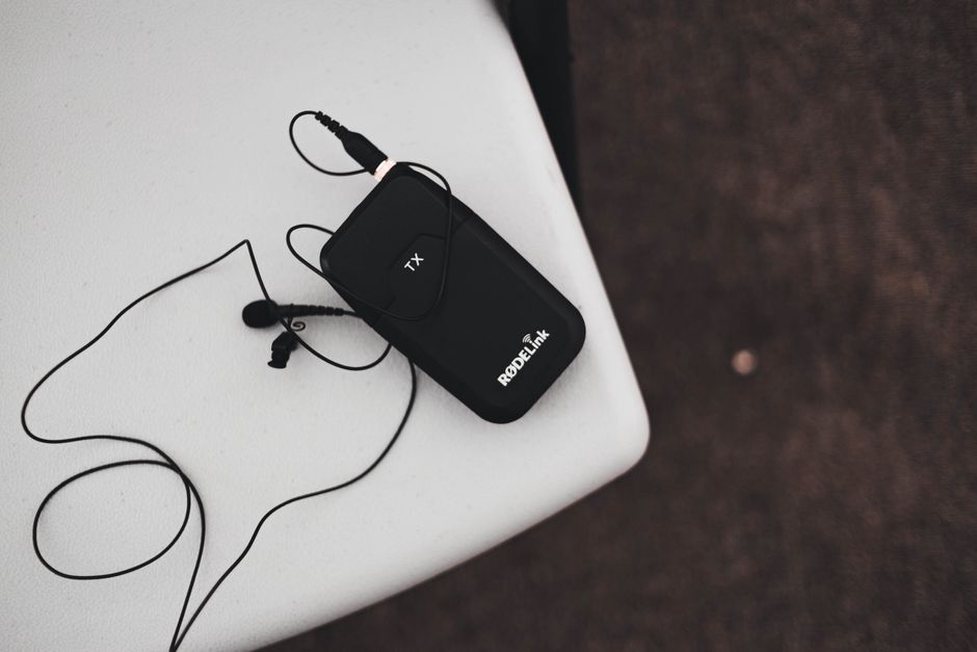
Placement often matters more than a new recorder. Move a microphone from an open walkway to a sheltered corner and the balance of wind, reflections and distant activity changes. Close to a machine, repeated mechanical details take over; farther away, the machine sits in the room again. If the material will be processed later, keep both takes. One gives you texture, the other scale.
Gain, wind and the quiet passage
For quiet recordings, resist the urge to turn the input gain all the way up. A door slam or train brake can clip an otherwise restrained take, and digital clipping cannot be repaired into an untouched original. Leave headroom, monitor through headphones and make a short test before a long passage. An exposed microphone needs a suitable windscreen: wind hitting the capsule can produce low-frequency blasts that bury the detail you came for. Keep your hands off the recorder during the take unless handling noise is part of the material.
Start early and let the recorder run after the expected event. Press record only once a sound is noticeable and you may miss its attack; stop immediately afterward and you lose its decay and the return of the background. In a piece built around small changes, that surrounding time may provide the structure.
Recording duration as a compositional choice
Short samples lend themselves to montage. In a long take, relationships can develop without a cut: an intermittent motor interrupts a steady hum, or a crowd briefly masks a soft repeating signal. Waiting through a quiet stretch can also change what the person recording notices. Patterns that would be missed in a hurried search for interesting sounds begin to emerge.
An unedited take is not automatically more truthful. Someone chose its start and end, put the microphone in one position rather than another, and set a level; playback shapes it further. A cut makes some of those decisions obvious, while an uninterrupted recording can hide them. These practical choices tell us more about Japanese experimental approaches to environmental sound than a neat divide between documentary purity and studio manipulation.
Keep basic session notes so you can compare takes later: location, date, approximate time, microphone, placement, recording level and unusual interruptions. “Recorder on bench, microphones facing wall; ventilation shuts off near end” is more useful at the editing desk than a poetic label alone. It can also stop you from mistaking a mechanical artifact for something that happened in the environment.
From captured sound to musical material
A source can remain recognizable even as its musical role changes. Looped ventilation may become a drone; footsteps can establish rhythm without turning into a drum track. In electroacoustic work, filtering may narrow the sound until a familiar source is hard to name. Heavy compression brings background hiss and small movements forward. Layer several takes from one site and you can make a space no listener could have heard from a single position.
Those operations have costs. Aggressive noise reduction can strip away the soft textures that distinguish a place and leave watery artifacts around louder events. Time-stretching may expose the inner shape of a brief sound but add a granular shimmer. Equalization can clarify a low mechanical pulse while thinning the ambience around it. These are not necessarily flaws; the question is whether the piece needs a source we can identify, an altered texture, or friction between the two.
Recording and performance need not be kept separate. A performer might play electronics against a fixed environmental track, respond to a live microphone feed, or send a recording through effects controlled in real time. The environment may offer an unpredictable cue, or the performer may give it a repeatable structure. Listen for moments when the recorded layer resists the live one—say, an incidental sound in the distance cutting across a sustained tone.
Space, playback and the limits of a recording
A stereo file carries spatial cues, but it cannot bring the whole acoustic environment with it. Headphones reveal small left-right movements and close details; speakers add the acoustics of the playback room. In an installation, speaker position, volume and visitor movement can matter as much as microphone placement did at the site. Turn a quiet recording up too far and background activity seems unnaturally close. Play it too softly in a noisy venue and the details disappear.
Japanese sound art offers other ways to consider the relationship between equipment and attention; Japanese Sound Art: Technology, Environment, and the Act of Listening takes up those concerns in a broader context. For a field-recording piece, try a simple comparison: listen once on headphones, then through speakers at a modest level. Note what survives, what merges, and whether you can still hear the intended distance between foreground and background.
Working in shared environments
Public access is not the same as permission to record without restrictions. Rules vary by site and intended use; stations, venues and privately managed spaces call for particular care. Do not block paths, put equipment where it could cause a hazard, or assume a long unattended take is acceptable. If a person is identifiable by voice, consider whether that voice needs to be in the work and whether consent or removal is appropriate, especially when the conversation is sensitive.
How you label a recording matters too. A precise place name can give a piece documentary authority even if the audio has been extensively rearranged. Withholding the location may protect people or fragile sites without weakening the work. If the piece combines several locations, “composed from recordings made at multiple transit sites” is more accurate than presenting it as one continuous scene.
A small, repeatable recording exercise
Record one location three ways, without hunting for a more dramatic event each time:
- Establish a wide take. Record several minutes from a stable position, with input gain low enough to accommodate unexpected peaks.
- Move closer to one recurring source. Keep the recorder still and note how its sound changes relative to the background.
- Change the transmission path. If safe and permitted, use a contact microphone on a resonant surface; otherwise, try a sheltered air-microphone position.
- Compare before processing. Match playback loudness approximately and write down what each take includes and excludes.
Then make a short edit: put 30 seconds of the wide take beside 30 seconds of the close take, without a crossfade to disguise the shift in perspective. Keep the original files and session notes separate. At the join, does the background jump forward, retreat or vanish? That change is a compositional decision before you add a single effect.