
You press record. A train passes. The microphone picks up the rumble, the screech of brakes, the distant conversation on the platform. When you listen back, it sounds like a wet blanket has been thrown over the entire scene. This is the most common complaint among field recordists who work in experimental music: the gap between the vivid, immersive experience of being in a space and the thin, two-dimensional playback. The problem is rarely the location. It is almost always the relationship between your microphone, your recorder, and the acoustic reality you are trying to capture.
Most beginners buy a single omnidirectional microphone, point it vaguely at the sound source, and expect magic. The result is a flat, centerless recording that lacks depth, spatial information, and the subtle low-frequency pressure that makes a real environment feel physical. If you are making drone, ambient, or electroacoustic pieces, this flatness kills the entire foundation of your track. You cannot fix it later with EQ or reverb—you can only mask it. The solution starts before you press record.
The Stereo Image Problem
The human ear locates sound through time-of-arrival differences and volume differences between left and right. A single omnidirectional microphone captures only volume—no time difference, no directional cues. The result is a mono recording that collapses the space into a point. For experimental music that relies on spatial texture, this is a dead end.
A simple XY stereo pair (two cardioid microphones crossed at 90 degrees) gives you a clean, focused stereo image with good center information. The downside: XY exaggerates the center and narrows the perceived width. It works well for a single sound source—a prepared piano, a specific machine—but fails for capturing an entire environment, like a factory floor or a forest at dawn.
AB stereo (two omnidirectional microphones spaced 40–60 cm apart) gives you a much wider, more natural sense of space. The time delays between the two mics mimic what your ears actually hear. The trade-off: the center can feel hollow, and phase cancellation becomes a real issue when you sum to mono. For a drone composer who plans to layer recordings, phase problems accumulate fast.
Mid-Side (MS) stereo solves both problems. One cardioid mic points forward (mid), and one bidirectional mic points sideways (side). In post-production, you decode the signal into left and right. You can adjust the stereo width after the fact without re-recording. You also retain a perfect mono-compatible signal (the mid channel alone). MS is the standard for professional field recordists working in experimental music because it gives you control over the spatial envelope. If you are recording for a noise or electroacoustic release, MS lets you decide later how much of the room you want to expose.
Gain Staging and Headroom
Field recording for experimental music is not like recording a podcast. You cannot set a comfortable level and forget it. A passing truck can spike 30 dB above the ambient hum. A bird call can be barely audible one second and deafening the next. If your recorder’s input gain is too high, you clip the preamp and get digital distortion that sounds like tearing paper. If it is too low, you raise the noise floor when you normalize later, introducing hiss that ruins the subtle low-end texture of a drone piece.
The rule: set your peak level to −12 dBFS on the recorder’s meter. This gives you 12 dB of headroom for sudden transients. Most portable recorders (Sound Devices, Zoom F-series, Sony PCM-D series) have a limiter—turn it on, but do not rely on it. A limiter catches peaks above the threshold, but it introduces harmonic distortion that changes the character of the sound. For noise music, that distortion might be desirable. For a clean drone or field recording composition, it is not.
If you are using an external microphone preamp (such as a Sound Devices MixPre or a small FetHead), match the output level to the recorder’s input sensitivity. A common mistake: running the external preamp at high gain and the recorder at low gain, which introduces noise from the preamp’s own circuitry. The inverse—low preamp gain, high recorder gain—is worse: you amplify the recorder’s internal noise. The optimal point is where the preamp’s output is roughly equal to the recorder’s line input level. Test this with a consistent sound source before you go into the field.
The Low-Frequency Trap
Drone and ambient music lives in the low end. A recording of a generator, a distant highway, or a cave with a river running through it contains sub-bass information that gives a track physical weight. Most consumer microphones roll off frequencies below 80 Hz. Even many “professional” shotgun microphones cut at 100 Hz to reduce handling noise and wind rumble. For a field recordist making drone music, this is catastrophic—you lose the very texture you went out to capture.
Check the frequency response graph of your microphone before you buy. Look for a flat response down to at least 40 Hz. The DPA 4060 series, the Sennheiser MKH 8020, and the Line Audio CM3 are common choices among experimental recordists because they maintain response into the sub-bass region. If you cannot afford those, a pair of Clippy EM272 omnidirectional microphones (modified from electret capsules) gives you usable response down to 30 Hz for about $100.
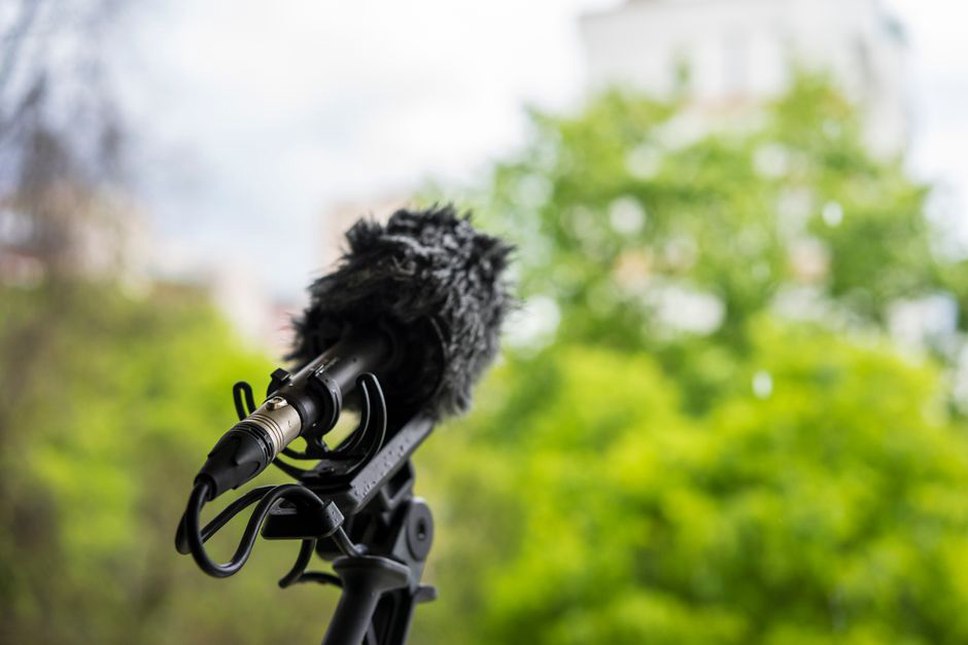
Wind noise is the enemy of low-end clarity. A foam windscreen cuts wind rumble by about 10 dB but does nothing for sub-bass gusts. A furry windscreen (often called a dead cat) cuts another 15 dB. For serious low-frequency recording, use a full blimp windscreen with a suspension mount. Yes, it looks ridiculous. Yes, it is worth it. One gust of wind at 20 Hz will ruin an entire hour of recording, and you cannot remove it without destroying the bass content.
Recording Logistics That Matter
Time of day changes the sound of a location more than any equipment decision. The same street at 6 AM and 6 PM has completely different frequency content. Early morning air is cooler and denser—sound travels farther and low frequencies carry more energy. Midday heat creates turbulence that scatters high frequencies and adds a layer of shimmering phase distortion. For a drone piece that needs a stable, unchanging ambient bed, record in the early morning or late evening when temperature gradients are minimal.
Battery life is not just about runtime. As a recorder’s battery voltage drops, the preamp noise floor rises. This is measurable and audible. Replace batteries at the halfway point of the manufacturer’s stated runtime, not at the end. If your recorder uses proprietary lithium-ion packs, keep a log of charge cycles—after 300 cycles, the internal resistance increases and noise performance degrades.
File format: always record in 24-bit, 48 kHz or higher. 16-bit recordings have a theoretical dynamic range of 96 dB, which sounds sufficient until you factor in the 12 dB of headroom you left. That leaves 84 dB of usable range—barely enough for a quiet forest floor with a distant chainsaw. 24-bit gives you 144 dB of dynamic range. You can record a pin drop and a jet engine in the same take without touching the gain. For noise and electroacoustic work, where you might layer extreme dynamics, 24-bit is non-negotiable.
What to Do with the Recording
Do not normalize to 0 dB. Normalizing raises the noise floor proportionally. Instead, use a gain utility to bring the loudest peak to −3 dB or −1 dB, then manually adjust the overall level by ear. Keep at least 3 dB of headroom for mastering.
High-pass filtering is tempting to remove rumble, but be conservative. A 12 dB/octave filter at 40 Hz is usually safe. A 24 dB/octave filter at 80 Hz kills the weight. If you recorded with proper windscreening and good mic placement, you should not need aggressive filtering.
For stereo recordings, check phase correlation. A phase correlation meter (most DAWs have one) shows a value between −1 and +1. If it dips below 0, your left and right channels are canceling each other out in the low frequencies. This destroys the bass when the track is played on a system with subwoofers. Fix it by inverting the phase of one channel, or by adjusting the spacing of your microphones in the next session. Do not rely on plugin correction—it only masks the problem.
One final detail that experienced recordists rarely discuss: the sound of your own body. If you are holding the recorder or standing near a reflective surface, your breathing, your heartbeat, and the rustle of your clothes become part of the recording. For a noise piece, that might be welcome. For a drone or ambient work, it is contamination. Use a remote trigger or a long cable to separate yourself from the microphones. If that is not possible, stand still. Take slow breaths through your mouth. Wear soft clothing. The microphone hears everything.