
Clip a contact microphone to a cooking bowl, push a cheap mixer into feedback, or run a toy keyboard on a fading battery: each can serve as a complete sound source when its limits are treated as material rather than defects. In Japanese experimental music, DIY electronics often grow out of this practical approach—using what is available, learning through unstable results, and allowing a circuit’s resistance to shape a performance.
“DIY electronics” can be a misleading term if it implies one coherent scene or a standard type of handmade instrument. It may mean modified consumer devices, contact-mic arrangements, self-built oscillators, feedback networks, inexpensive recording chains, compact digital processors, or hybrid rigs built around objects never meant to work together. What links these methods is not a national style or a fixation on technological novelty, but access, contingency, and close attention to how a signal behaves.
Electronics as a chain of decisions
Experimental electronics are rarely just a sound-making box. A setup is a chain: source, amplification, processing, recording, playback, and the room itself. Change one link and the rest respond. A piezo contact mic, for instance, has high impedance and may sound thin or brittle when plugged straight into an unsuitable input. A basic preamp or impedance-matching device can bring out low-frequency movement, scraping textures, and long resonances that would otherwise be lost.
This is why modest equipment can produce intricate recordings. A performer does not need a rare synthesizer if they understand gain staging, placement, monitoring, and the physical treatment of a source. A small electrical hum becomes usable when its level is controlled; mixer feedback becomes expressive when it is routed deliberately instead of being allowed to surge unchecked.
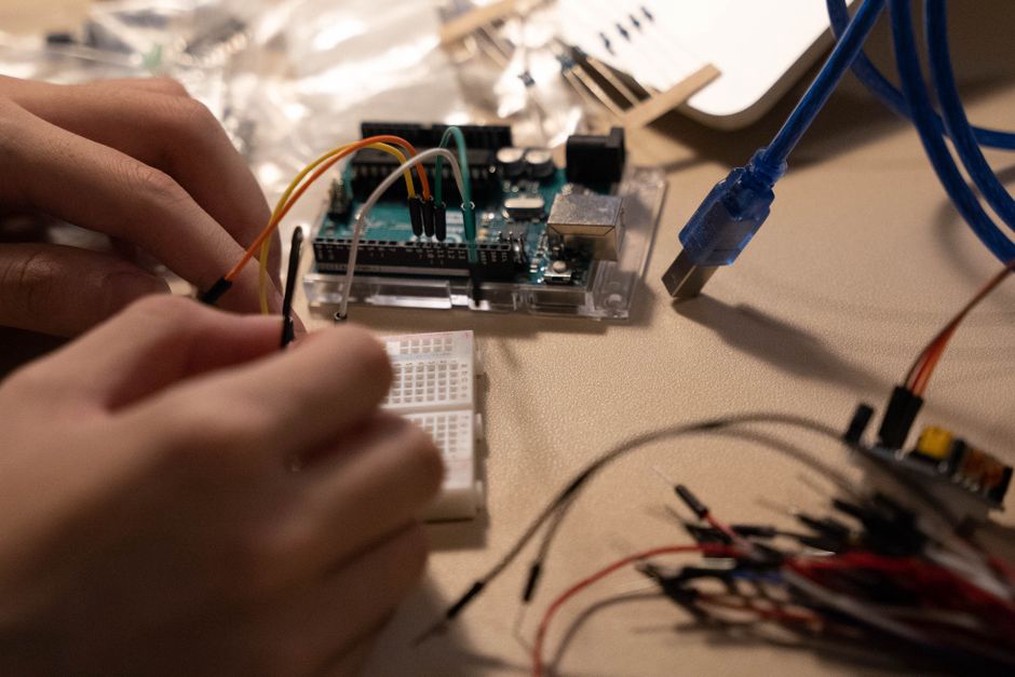
Three recurring approaches
| Approach | Typical materials | What to listen for |
|---|---|---|
| Modification | Radios, toys, keyboards, pedals, inexpensive mixers | Interruptions, pitch drift, accidental rhythms, unstable control |
| Self-built circuit | Oscillators, sensors, breadboards, soldered enclosures | Waveform interaction, voltage changes, repeatable but imperfect behaviors |
| Electroacoustic extension | Contact mics, transducers, objects, small amplifiers | Material resonance, handling noise, feedback, room response |
The categories often overlap. A modified radio may feed a homemade oscillator, while an object amplified by a contact mic may pass through a commercial delay pedal. The useful distinction is between where a sound begins and how it is set in circulation.
Why failure matters—but does not replace technique
Broken, noisy, and unpredictable devices have long appealed to experimental musicians because they resist polished, preset-driven outcomes. But failure is not interesting by itself. A malfunction becomes musically legible through framing: duration, repetition, contrast, microphone placement, and the decision to keep or remove an event.
A dying battery in a toy keyboard may slow its clock and bend the pitch. That change can appear as a brief incident, return as a motif, or be layered with another signal until its rhythm is obscured. Each choice produces a different form. The same is true of radio interference, electrical leakage, switching clicks, and feedback. Their force lies less in roughness than in their relation to time and attention.
DIY electronics can therefore pull composition into the act of troubleshooting. Adjusting a cable, moving a microphone, replacing a battery, or easing back a gain control may become part of the performed sequence. The practical labour remains audible. Rather than hiding the route from object to recording, many works leave the seams exposed.
Listening beyond the “noise” label
Noise is often used as a catch-all for abrasive electronic sound, but the shortcut hides important differences. A sustained high oscillator tone demands a different kind of listening than dense amplifier feedback; a field recording played through a damaged speaker raises different questions from rapid circuit switching. Texture alone does not account for structure.
Try to identify the action behind a sound without assuming that the action is visible in the recording:
- Does the pitch move continuously, or in stepped voltage changes?
- Is the rhythm produced by a clock, a hand gesture, a loose connection, or an edit?
- Does a harsh layer conceal another source, or expose a quiet mechanical detail?
- Do repeated sounds behave identically, or do small differences reveal heat, battery loss, or changing feedback conditions?
- Is the silence empty, or does it retain room tone, electrical hiss, and the expectation of another event?
These questions matter because DIY electronic work often carries information at the threshold of audibility. A faint pulse may establish a piece’s timebase. A sudden drop in level may indicate a change in routing rather than a simple pause. Listening first at a moderate volume can help separate actual density from distortion introduced by speakers or headphones.
The archival side of this work is particularly fragile. Homemade devices change between performances, configurations often go undocumented, and small-run physical media may circulate with incomplete credits. The blog’s account of the Japanese noise orphan file known as wasted finalver520 points to a related archival problem: obscure fragments can survive with uncertain context, making careful description more valuable than confident speculation.
Small media, large signal paths
DIY electronics have often circulated through formats that accommodate imperfection rather than erase it. Cassettes matter here because they allow direct copying, overdubbing, inexpensive circulation, and audible changes introduced by the medium itself. Tape hiss, uneven transport, dropouts, and saturation can be reduced or treated as another layer in the signal chain.
That does not mean every cassette recording is deliberately lo-fi. Tape may simply have been the available medium, and its artifacts do not need romanticising. The better question is what the format contributes in a particular case. Does compression make a feedback mass feel denser? Does a side break divide a long process into two related states? Does a dub introduce delay, blur, or a shift in high frequencies that alters the piece’s balance?
A phone recorder, handheld device, or inexpensive interface can likewise matter without becoming a fetish object. Its limits become relevant when they affect what can be heard and what decisions are made: automatic gain may pump during loud passages, internal microphones can flatten spatial detail, and digital clipping can collapse separate sources into one brittle mass.
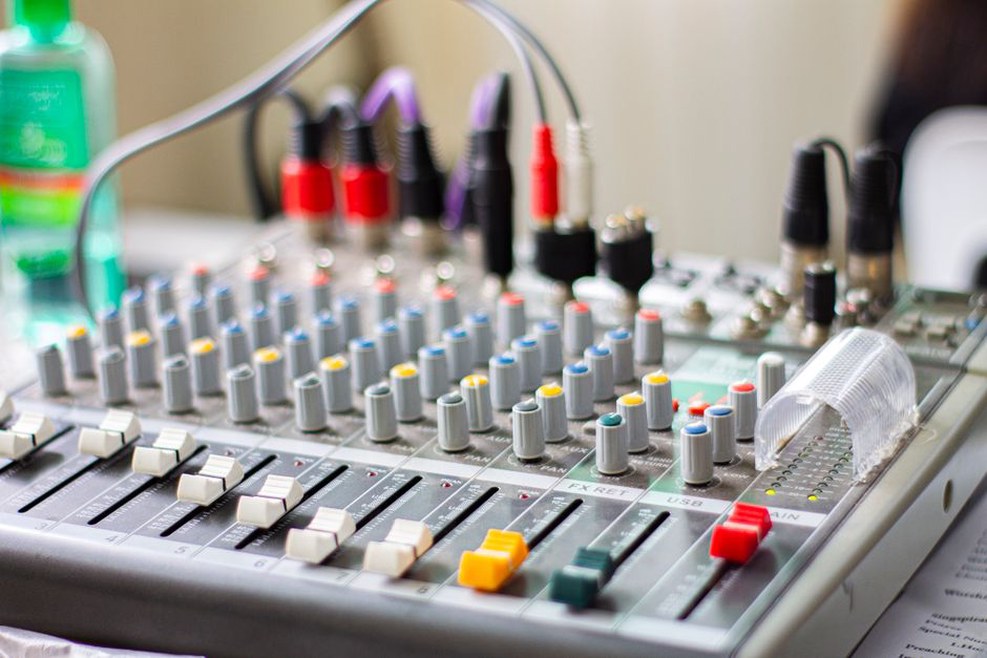
Building a modest practice safely
A useful beginner setup does not require opening mains-powered equipment or modifying devices with poorly understood circuitry. Low-voltage, battery-operated gear offers ample material while reducing avoidable risk. Begin with a small sound source, a way to monitor it, and a recording method. Introduce one variable at a time.
A cautious working method
- Choose a stable baseline. Record an unprocessed toy, radio, object, or oscillator for several minutes. Learn its ordinary range first.
- Change one condition. Move a contact mic, alter battery level within normal use, introduce a pedal, or adjust gain. Keep notes on connections and settings.
- Monitor at restrained levels. Feedback can rise abruptly. Start with output controls low, protect your hearing, and avoid pointing microphones directly at speakers unless that interaction is intentional and controlled.
- Record the full process. A useful moment may happen during setup rather than the planned performance. Long recordings preserve transitions that are difficult to reconstruct.
- Label files immediately. Include the date, source, routing, recorder, and unusual conditions. “Untitled test” becomes almost useless after several sessions.
Electrical safety is not an aesthetic limitation. Do not work inside plugged-in mains equipment, defeat grounding, or use damaged power supplies and exposed conductors. If a circuit requires more than battery power and basic, verified low-voltage components, consult established electronics resources or a qualified technician before proceeding. Interesting sonic instability does not require an unsafe workspace.
Documentation as part of the work
Because these practices depend on relationships among objects, settings, and spaces, documentation can be creatively useful rather than bureaucratic. A simple session sheet can note the source, power supply, cable path, pedals or processors, microphone placement, room, and monitoring level. A photograph of a patch or tabletop arrangement may explain an otherwise mysterious recording better than a long retrospective account.
For releases and exchanges, separate confirmed facts from interpretation. Name equipment when it is known, indicate whether a recording is live, assembled, or edited when that information is available, and avoid assigning motives to obscurity, distortion, or incomplete documentation. This matters in scenes where files, cassettes, and fragments can outlast the context in which they were made.
At the end of a session, save one unprocessed reference recording alongside any edited version. Add a text file with the signal path—source → preamp or mixer → effects → recorder. That modest record may be enough to reconstruct an approach later, even after the original cables, batteries, and improvised objects have changed.