
The distinction between document and composition in Japanese field recording isn't always obvious from the cassette shell. A recording of a Shibuya crossing at 7:23 p.m. and a recording of a washing machine cycling through its spin program on a Tuesday morning—both can sit side by side on a label's catalog, with only a typed J-card telling you which is which. But the techniques behind them differ in ways that matter to how you listen, and more importantly, to how you build your own work.
Most musicians entering field recording assume the microphone is a transparent window. In the Japanese underground, it never is. The choice of recorder, the placement, the time of day, the decision to move or stay still—each is a compositional parameter. Understanding these choices means looking at how artists working in noise, drone, and electroacoustic contexts have turned the act of recording into a deliberate, often ascetic practice.
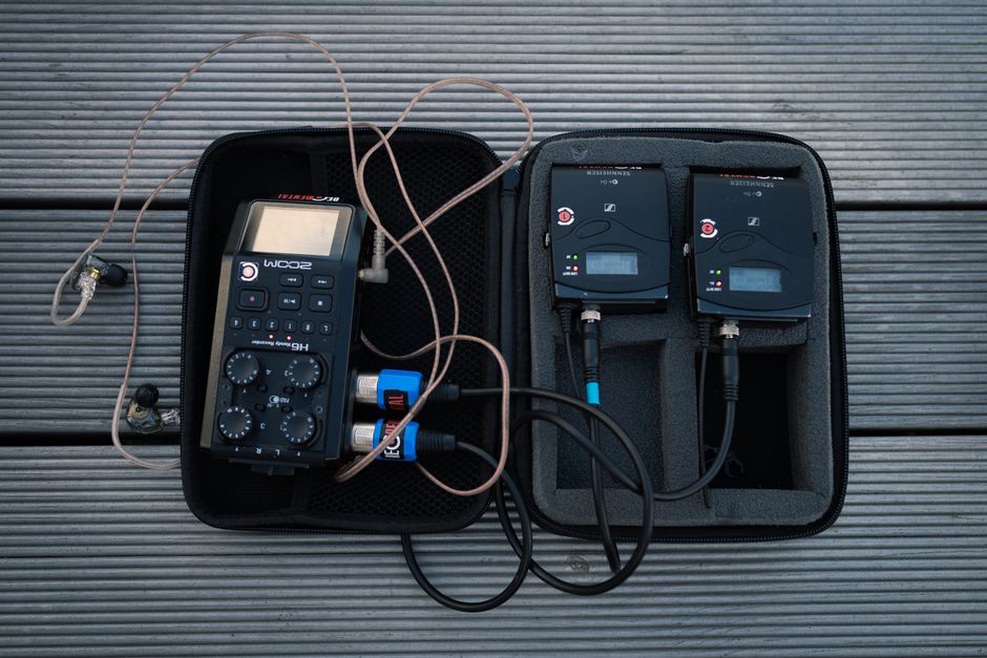
Mic Placement as Instrumentation
The first thing to unlearn is the idea that a field recording captures what you hear. A microphone does not hear like an ear. It has no pinna, no head shadow, no subconscious filtering of traffic hum from bird call. What it captures is a flat, unedited pressure wave—and that pressure wave often sounds nothing like your memory of the place. This disconnect is precisely where composition begins.
Japanese practitioners often place microphones in positions the human ear could never occupy: inside a hollow concrete pipe, pressed against a vibrating metal sheet, wedged into the gap of a train track joint. The point is not realism but a kind of hyper-specificity. The microphone becomes an instrument that reveals texture invisible to the unaided ear. A contact microphone on a windowpane during rain sounds nothing like rain. It sounds like the glass vibrating, which is exactly what is happening.
For a musician building a field recording practice, the most useful shift is to stop thinking of location as a subject and start thinking of it as a resonant body. A staircase, a boiler room, a tunnel—each has a frequency signature that can be played. Moving the microphone six inches changes the mix of reflections and resonances more than changing a compressor setting ever could. This is not metaphor. It is acoustics.
Staging and Distance
The concept of ma—often translated as interval or negative space—is sometimes invoked in discussions of Japanese arts, but in field recording it has a concrete meaning: the distance between microphone and source determines the ratio of direct to reflected sound. A close-mic’d recording of a metal gate swinging is dry, percussive, almost like a percussion instrument. The same gate recorded from twenty meters away becomes a wash of reverberation, losing attack and gaining atmosphere. Neither is correct. They are two different sounds.
In the underground cassette world, labels often favor recordings that commit to one staging. A recording that tries to be both close and distant—moving between positions, zooming in and out—can feel unsettled unless the movement itself is the subject. Static staging, by contrast, gives the listener a fixed perspective from which to observe the sound's evolution. The hum of a transformer, recorded from a single spot for forty minutes, is not boring. It is a drone. The drone is the composition.
Editing vs. Curating
Many beginners tie themselves in knots over whether editing a field recording is cheating. The question itself comes from a misunderstanding. Every field recording is edited the moment you press record—you have already selected a time, a place, and a microphone. The question is only whether you edit further after the fact.
Japanese tape culture has two broad approaches here. One is the long, unedited take—the full-side C60 or C90 recording that documents a place in real time. These releases rely entirely on the listener's patience and attention. The recording is the event; the tape is the document. The other approach treats the recorder as a sketching tool, collecting raw material that will later be assembled into a composition. Both approaches appear on the same labels, often from the same artists, depending on the project. There is no purity test. The only test is whether the result holds attention.
A practical technique borrowed from underground electroacoustic composers is the “one-action” recording. You set up the microphone, press record, and then remove yourself—do not adjust levels, do not move, do not breathe near the mic. The recording becomes a document of the environment acting on the microphone, not of a human intervening. This technique is especially common in work released on labels that number their releases rather than naming them, a practice discussed in 152012: Why Japanese Underground Cassettes Use Numbers, Not Names. The anonymity of the label extends to the anonymity of the recordist. The sound, not the person, is the subject.
Layering and the “False” Field Recording
Some of the most compelling releases in the genre are not single-location recordings at all. They are composites: two or three field recordings layered, panned, and EQ'd to create a space that never existed. A recording of a subway platform in Osaka, layered with a recording of wind in pine needles from Nagano, placed on the same stereo image, creates a hybrid geography. This is not deception. It is electroacoustic composition using field recordings as source material.
A common indicator that a tape uses this technique is the presence of sounds that are acoustically impossible together—bird calls with no reverb on a concrete plaza, footsteps that do not match the surface texture, rain that sounds close and distant at the same time. These are deliberate choices. The listener is meant to feel the constructedness. The tension between the real and the assembled is the content.
Practical Workflow from Underground Tape Culture
For those interested in producing their own field recording compositions, a stripped-down workflow emerges from observing how Japanese underground musicians work. It does not require expensive gear. A Sony PCM‑D100, a Zoom H5, or even a smartphone with a decent external mic is sufficient. What matters is discipline in placement and patience in listening.
- Scout without recording. Walk the location once, listening. Map the sound sources, the reflections, the wind direction. Only then place the microphone.
- Record twice as long as you think you need. A composition that needs three minutes of material should be drawn from a thirty-minute recording. Density of interesting sound per minute is low in most environments. Give yourself time.
- Log the recording immediately. Write down mic position, distance to nearest surface, weather, time, and any notable interruptions (a truck, a plane, a conversation). This log becomes the basis for later editing decisions.
- Edit in space, not in time. Instead of cutting out sections to shorten the recording, try muting frequency bands or narrowing the stereo image. A recording that is too long can be made into a drone by low-pass filtering.
- Test the mono fold. Panning both channels to center collapses the stereo field and reveals phase cancellations that may add unwanted artifacts. Some of the best underground field recording tapes are in mono precisely because the collapse creates a denser, more aggressive texture.
The last point connects directly to a deeper technical discussion. Mono vs. stereo in field recording is not a fidelity choice—it is a compositional one. The decision to present a recording in mono forces the listener to focus on timbre and dynamics rather than spatial placement. It also simplifies duplication and playback on older cassette decks, which is a practical concern for small-run DIY releases. The relationship between recording technique and format choice is covered in more detail in Listening to Japanese Underground Music: A Practical Guide, which addresses how to approach these recordings as a listener.
The Battery as a Timing Constraint
One detail that rarely appears in gear reviews but matters deeply in field recording is battery life. A recording session is not infinite. A pair of AA batteries in a portable recorder may give two hours of operation—less if phantom power is required, less in cold weather. This constraint shapes the composition. A field recording artist who knows the recordist has forty minutes of battery will structure the session differently than one who has all day. The deadline is built into the hardware.
Some underground musicians embrace this limit explicitly. They record with consumer‑grade equipment that has no external power option, forcing the session to fit within the battery's curve. The recording deteriorates as the voltage drops—the preamp noise rises, the frequency response narrows, the dynamic range compresses. This is not a flaw. It is a performance artifact, and many tape releases preserve the entire session, including the audible degradation at the end. The sound of a dying battery is a legitimate element of the composition.
Releasing the Recording
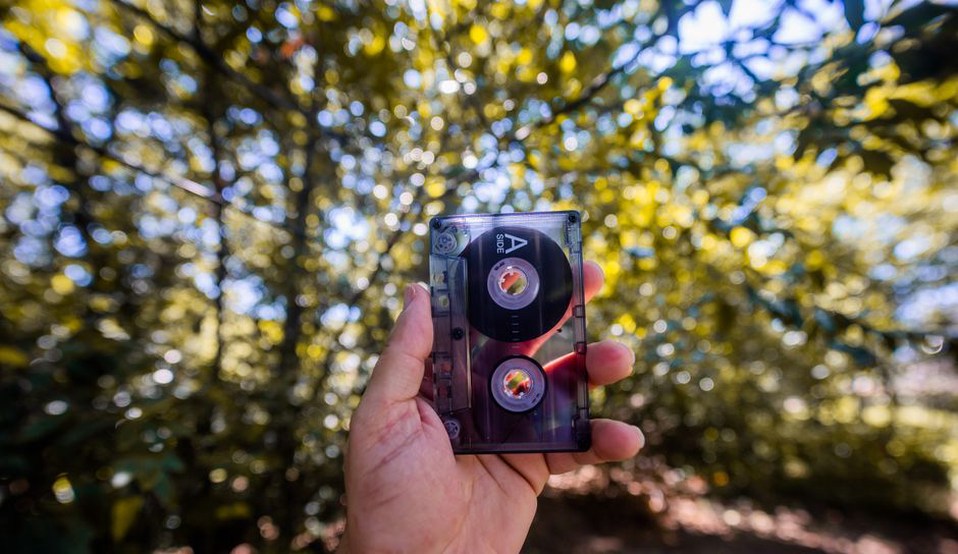
When the recording is finished and edited, the next decision is format. In Japanese underground tape culture, the cassette is not a container—it is part of the sound. The hiss of Type I tape, the limited high-frequency response, the wow and flutter of a worn transport—these color the recording in ways that a digital release cannot replicate. Artists sometimes master specifically for cassette, boosting certain frequencies that will be lost to tape compression and cutting low-end that would cause distortion on consumer decks.
A field recording that sounds thin on digital may sound full on cassette, because the tape's natural high-frequency roll-off masks the hiss of the recorder's preamp. Similarly, a recording with excessive low-end rumble may become punchy on cassette because the tape saturates and compresses the peaks. The medium is a mastering tool, not a storage device.
If you are planning to release your own field recording work, test the final mix on a cassette deck before finalizing. Adjust levels so that the loudest peak sits just below distortion on a normal bias tape. Leave the recording unmastered in digital, then master for the specific tape stock you intend to use. This is not the universal method, but it is the one that gets the most consistent results in the underground community.
Listen to the recording repeatedly before deciding it is finished. Field recordings reward multiple listens. A detail that seems intrusive on the first pass—a distant motorcycle, a click from a loose cable—may become the structural anchor of the piece on the fifth listen. And a sound that seems beautiful on headphones may collapse into mud on speakers. Judge the recording in the environment where it will most often be heard. For most cassette releases, that environment is a small room, not a studio. Mix accordingly.