
A small compost bin can turn sour fast when kitchen scraps go in without enough dry material. Keep torn cardboard or dry leaves beside it. Each time you add a handful of fruit or vegetable scraps, cover them with roughly two or three handfuls of dry material. The covering absorbs moisture, leaves room for air, and keeps food out of reach of flies.
You don't need a garden bed. A patio corner, paved courtyard, or suitable balcony can hold a container if you can reach it easily and manage any liquid that drains out. What matters most is how much food waste you produce, whether the bin can sit on soil, and how closely you share the space with neighbors.
Choose a method that fits the site
For most small outdoor spaces, a lidded bin or a pair of sturdy containers is a practical start. In a conventional aerobic bin, scraps break down with the help of air, moisture, and decomposer organisms. It works well if you can add dry leaves and stir the contents now and then, though a bin fed only a little at a time will work slowly.
A worm bin takes up even less room and handles modest amounts of food waste without frequent turning. The worms need bedding, ventilation, protection from heavy rain, and temperatures that don't swing too far. A balcony that bakes in afternoon sun or freezes hard may not work unless you can move the bin to shelter. Check the needs of the worm species available locally before choosing this method.
A sealed bokashi bucket saves space, but it ferments scraps rather than producing finished compost. Afterward, its contents must be buried in soil or added to an active compost system. Without a place for that second stage, the bucket won't solve the disposal problem.
Before putting a container on a balcony, check building rules and weight limits. Wet compost weighs much more than dry leaves, and a waterlogged bin can leak onto the space below. On paving, put a draining bin over a tray you can empty; don't let it stand in its own runoff. On bare ground, direct soil contact lets excess moisture drain and soil organisms enter.
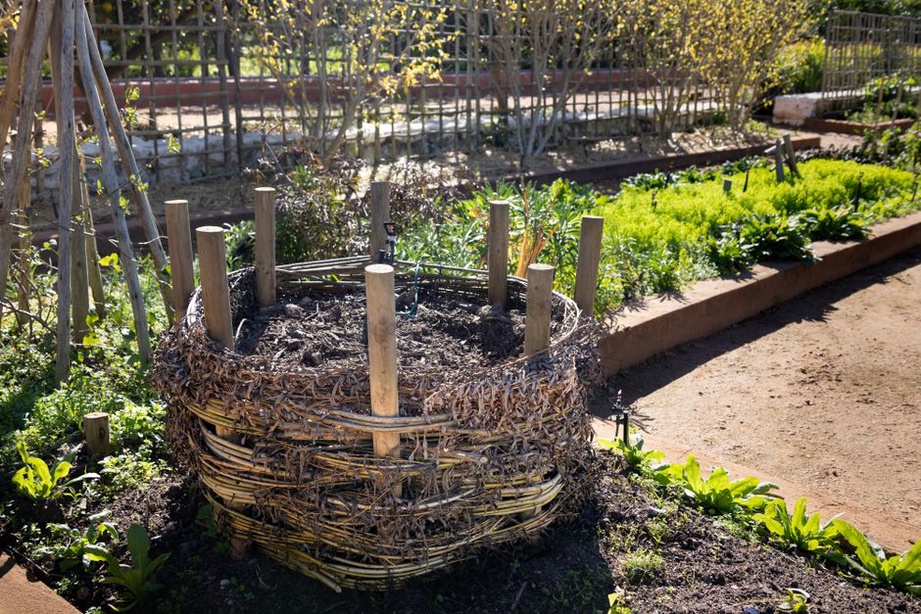
Set up a container you can actually manage
Roughly 40 to 80 liters is manageable for many small households, but there's no ideal size. Choose a container with enough room to stir without spilling that you can still move safely if needed. A secure lid keeps out rain and pests; openings in the sides admit air. If you're adapting a plastic storage tub, make ventilation holes around its upper sides and drainage holes near the bottom. Cover openings with fine mesh where rodents are a concern, and use a tray if runoff can't soak into soil.
Put a loose layer of dry leaves, shredded plain cardboard, or small twigs at the bottom. It isn't a permanent drainage layer—the materials will break down—but it keeps the first scraps from sitting against a wet base. You can add a scoop of finished compost or garden soil, though neither is necessary: decomposers will arrive on the materials you add. Leave room at the top to mix the contents and cover new scraps.
Put the bin where it's easy to open, not just where it stays out of sight. Partial shade can keep it from drying out in summer, while shelter from prolonged rain makes moisture easier to control. Leave enough clearance to lift the lid fully. If adding scraps is awkward, they're more likely to sit in the kitchen.
What goes in
Think of greens as sources of nitrogen and moisture, and browns as sources of carbon and structure. They're useful categories, not a reason to calculate an exact chemical ratio.
- Useful greens: fruit and vegetable trimmings, coffee grounds, tea leaves, and small amounts of fresh plant cuttings.
- Useful browns: dry leaves, torn uncoated cardboard, plain paper, and small amounts of untreated wood shavings.
- Usually best avoided in a small open-air system: meat, fish, dairy, oily cooked food, and pet waste. They can cause odors, attract animals, or raise hygiene concerns.
Remove produce stickers, plastic-coated packaging, and synthetic tea bags. Leave out glossy or heavily coated paper, too. Crushed eggshells are fine, but they break down slowly and won't fix a wet or smelly bin. Keep out weeds with seeds and diseased plant material if your small pile may never get hot enough to deal with them reliably.
Build a routine around small additions
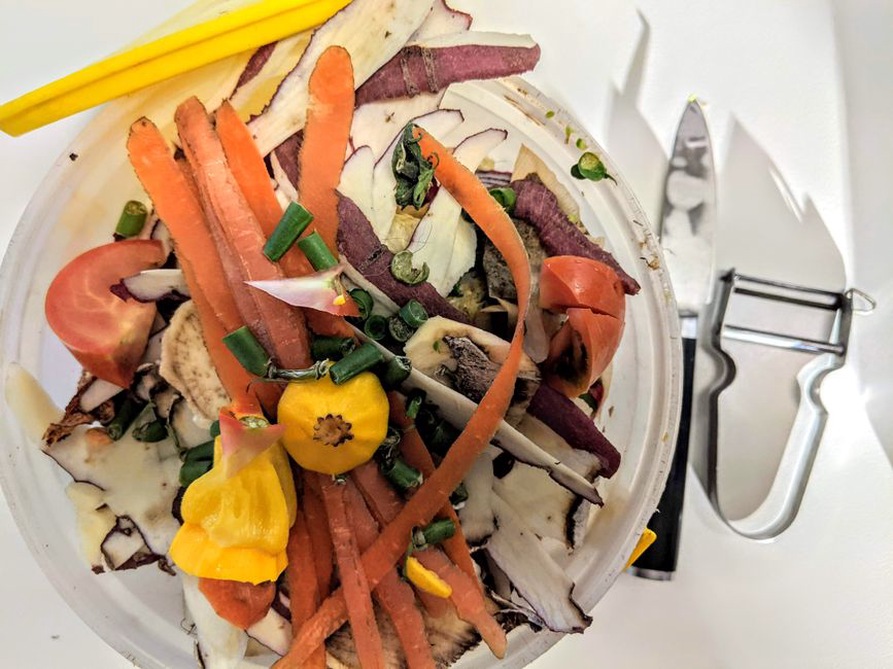
Collect kitchen scraps in a covered countertop container and empty it regularly. Cut bulky pieces into smaller chunks so they break down more readily and are easier to mix. Spread each addition through the bin rather than dropping it in one dense clump, then cover it completely with browns. Exposed food attracts fruit flies.
Start with about two to three volumes of browns for each volume of fresh scraps. Dry leaves and shredded paper behave differently, so use that ratio as a guide, not a rule. The contents should feel like a wrung-out sponge: damp, but with no water squeezing out. If they're soggy, add dry browns and gently loosen compacted areas. If they're dusty and breakdown has stalled, mix in a little water or add a fresh layer of greens.
Stir a small aerobic bin every week or two, moving material from the edges toward the center. Daily churning isn't needed; you're restoring air to compacted patches and checking moisture, especially near the bottom. If the container is heavy, use a hand fork or narrow garden tool rather than shaking it. Worm bins need a different approach: frequent disturbance of all the bedding can stress the worms. Add food in small pockets and check what remains uneaten.
Read the bin before changing it
A working bin smells earthy. Its contents are visibly breaking down and feel moist without being saturated. It may never get hot: hot composting needs enough mass as well as the right conditions, so a cool bin isn't necessarily stalled. Expect slower progress in cool weather.
If something seems wrong
- Rotten or sour smell: the contents are often too wet or compressed. Mix in dry leaves or torn cardboard, loosen the mass, and check that drainage holes are clear.
- Fruit flies: bury or fully cover fresh scraps. Wipe food residue from the rim, keep the lid shut, and avoid adding more fruit until exposed scraps are covered.
- Ants or very slow breakdown: the bin may be too dry. Check below the surface before adding water; the top can look dry while the center stays damp.
- Rodents: stop adding attractive scraps, secure the lid, and inspect gaps around the base and vents. Fine mesh can help, but a persistent problem may call for a different container or method.
These adjustments do more than a commercial compost starter can for a poorly balanced bin. Air, moisture, and a supply of both greens and browns matter more. If rain keeps flooding the container, move it under cover or improve the lid instead of adding cardboard after every soaking.
Know when the compost is ready
Finished compost is dark and crumbly, smells earthy, and has no recognizable food scraps. Sticks, eggshell fragments, and bits of cardboard may remain; sift them out and return them to the active bin. How long it takes depends on temperature, the size of the materials, and how often you add scraps. In a continuously fed container, fresh and older material won't finish at the same time.
If you have room for two small bins, fill one while the other rests. Once the first is full, stop adding scraps, keep it lightly moist, and turn it occasionally. Feed the second while the first finishes. With one container, move fresh material aside to reach mature compost underneath, or wait for the whole batch to break down. Wash your hands after handling unfinished material, and don't put it directly against edible parts of plants.
Use finished compost as an amendment, not as the only material in a pot. Mix a modest amount into potting mix or spread a thin layer over established container soil, leaving space around stems. If it still smells sour or contains recognizable peels, put it back in the bin. When you add the next kitchen scraps, cover them with torn plain cardboard until no food is visible.