
Attach a contact microphone to a metal sheet, and a light scrape can fill a room. The piezoelectric element picks up vibration in the metal, not sound travelling through the air. Run the signal through a distortion pedal and the sheet can produce sustained crackle alongside sharp impacts. In Japanese experimental music, setups like this sit alongside no-input mixers, modified pedals and handmade circuits. Often the aim is less to invent an instrument than to hear what a familiar component does when its usual job is changed.
What counts as DIY electronics?
The term covers several practices. Circuit bending alters an existing battery-powered device, often by connecting points on its circuit board that were not meant to meet. A contact-microphone setup uses a piezo element to amplify vibrations in an object or surface. No-input mixing feeds a mixer’s output back into one of its inputs, creating feedback without a conventional sound source. Handmade oscillators and modified effects pedals offer other ways to generate or reshape a signal.
There is no single DIY-electronics sound. A piezo on a spring might produce brief, resonant attacks; a feedback loop might hold a narrow tone before a small level change sends it into harsh noise. What links these methods is the performer’s attention to the signal path. A cable, switch, enclosure or patching choice can shape the piece.
Feedback is a circuit, not a genre
Toshimaru Nakamura’s no-input mixing board is a clear example from Japan’s experimental scene. He connects the mixer’s outputs to its inputs and works with the board’s circuitry and controls rather than an external instrument. Routing, gain and the response of the particular mixer determine the tones and bursts. Calling the result simply “noise” misses the practical reversal: a device built to balance other sounds has become the source.
That reversal is worth keeping in mind while listening. A sudden high pitch may come from a feedback path settling at a stable frequency, rather than a note chosen on a keyboard. A fall into near-silence may be a fader movement, not an edit. When the setup is not visible or documented, the audible change is firmer ground than a guess about every connection.
Building for touch and uncertainty
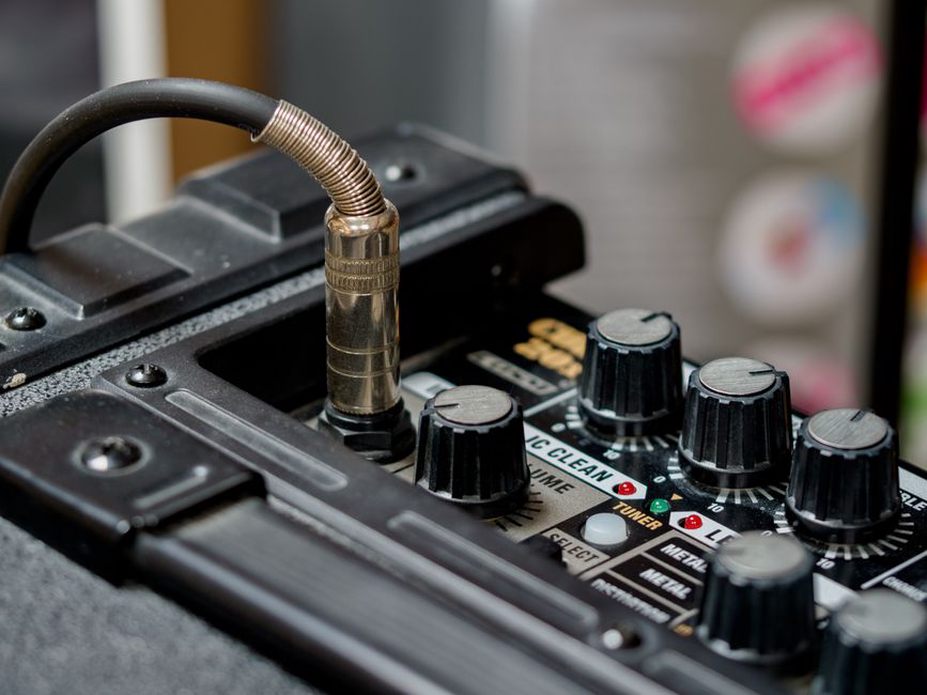
DIY devices can make small physical decisions unusually audible. A loose connection interrupts a tone; pressing a contact mic harder against a surface changes its response. An exposed control invites quick adjustments, while a hard-to-reach knob may make a slow drift the easier gesture. Such details are part of the instrument’s design, even when they begin as quirks.
For a first setup, ask which action you can hear clearly before adding effects. A manageable starting chain is:
- Attach a piezo contact microphone securely to a resonant object, such as a metal tray or wooden panel.
- Connect it to a suitable preamp or high-impedance input before sending the signal to a mixer or recorder.
- Try tapping and rubbing the object, then leave it untouched; listen for handling noise as well as resonance.
- Add one effect at a time, keeping a dry recording for comparison.
A piezo can sound thin or overly sharp through an unsuitable input. What seems like a limitation of the object may be an impedance mismatch. Placement matters too: a contact mic on a table can pick up footsteps and cable movement. Those sounds may be useful once you know where they enter the chain.
Modification has limits
Circuit bending can bring unexpected sounds out of an inexpensive device, but an unpredictable short is not necessarily one you can play. Stick to battery-powered equipment for casual experiments; mains-powered devices and equipment with potentially charged capacitors require qualified expertise. Start with the device disconnected, document its original condition and test with temporary connections before soldering a permanent bridge. Stop if a component heats up or the device behaves abnormally. Hearing a circuit fail is not the same as developing a controllable instrument.
Volume calls for similar care. A feedback patch can leap from quiet to piercing. Begin with monitors low, keep a mute control within reach and raise the level only after testing the full range of knobs and switches. Ear protection matters in small rooms as well as at loud shows.
How the device changes the music around it
DIY electronics can be portable and inexpensive, but a table of devices still needs power, a dependable connection to the sound system and time for a level check. Venue amplification may make a delicate circuit behave differently than it does at home. The performer might leave more space between sounds, move a microphone or let the room’s resonance carry a tone.
Recordings and live sets therefore tell different parts of the story. A recording may preserve a close, dry signal that an audience hears through loudspeakers and room reflections. Conversely, a small adjustment visible onstage can be difficult to infer from released audio. Accounts of [the sound and spaces of Japanese noise festivals](/japan-noise-festivals-experimental-sounds/) are useful alongside close listening because the physical setting changes what electronic sound can do.
Following the signal instead of the mythology
Writing about Japanese DIY electronics can slip into talk of exotic gadgets or supposedly distinctive national attitudes toward technology. Neither tells us why one performance holds attention and another does not. Better questions stay close to what can be heard: What generates the signal? Which controls seem to produce repeatable changes? When does instability create tension, and when does it bury detail?
Those questions also help collectors assess recordings. A release note naming a modified device is a starting point, not a circuit diagram. Unless the maker documents the circuit, listeners cannot reliably identify every component by ear. Listen instead for transitions: a click followed by a long decay, a drone that shifts when its surface is touched, or a feedback tone breaking apart as the gain changes.
To hear what processing contributes, record thirty seconds of a contact mic on a metal object without effects. Repeat the same gestures through one pedal, then match playback levels before comparing the takes. The telling difference may not be the distortion itself: a scrape that vanished in the dry take might become the clearest event in the processed one.